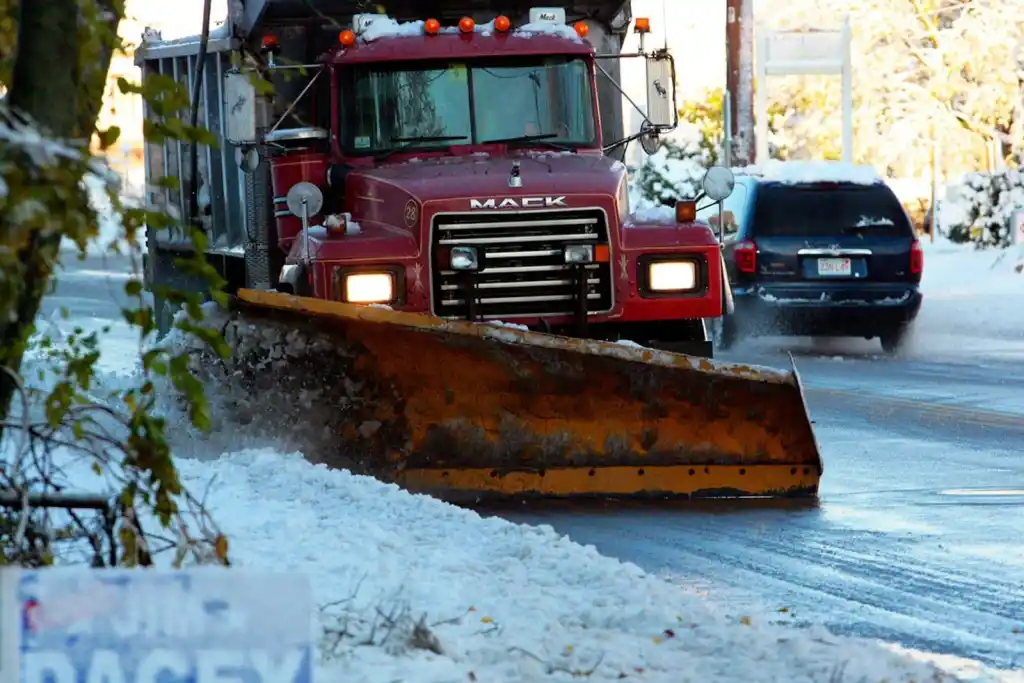
The easiest snow to remove is snow that has a clear place to go. Before the first significant winter storm arrives in Minnesota, a short walk around your driveway can prevent several headaches: hidden obstacles, blocked drains, damaged lawn edges, and piles of snow left in inconvenient places.
Preparing does not require a major project. Most homeowners can make useful improvements with a little cleanup, a few visible markers, and a plan for where accumulated snow should be placed. Here is how to get the property ready before freezing weather makes those decisions more difficult.
Walk the driveway while you can still see the pavement
Start at the street and move toward the garage, looking for anything that could disappear beneath a few inches of snow. Garden hoses, extension cords, children’s toys, planters, decorative stones, low landscape lighting, and portable basketball equipment all deserve a second look.
Move loose objects into storage and make a note of items that cannot move. Pay particular attention to the spots where your driveway meets a walkway, patio, or landscaped border. Snow cover can make different surfaces look like one continuous area even when an edge or step is hiding beneath it.
Check for loose pavers, raised concrete joints, potholes, or other uneven spots. If repairs are needed, address them when conditions allow; otherwise, flag the area so it is not a surprise during winter clearing.
Mark driveway edges before the ground freezes
When snow covers a driveway, the boundary between pavement and grass can become difficult to identify. Reflective driveway markers can make that boundary more obvious for anyone plowing, using a snowblower, or clearing a narrow approach.
Where markers are most useful
- At both sides of the driveway entrance near the street.
- Along curves and narrow stretches.
- Beside retaining walls, decorative rock, or planted beds near the pavement.
- At transitions between the driveway and adjoining paths.
Place markers where they are visible without creating a hazard, and follow the product instructions for spacing and installation. Avoid placing them in a public right-of-way without checking local rules. The point is to show the edge clearly, not to create a forest of stakes.
Pick a realistic place for snow piles
Snow from the first storm may not seem difficult to manage, but several storms can produce a surprisingly large pile. It helps to decide where snow can be stored without blocking regular access.
Keep snow storage away from entrances, garage doors, mailboxes, emergency access routes, and places where it could obscure traffic sightlines. Try not to pile it over storm drains, drainage outlets, or spots where meltwater will flow toward your house. Consider where that pile will melt in spring, not just where it fits in January.
Landscaped borders need special attention. Repeatedly depositing heavy, compacted snow onto delicate shrubs or ornamental features may cause damage. If you have limited room, a more deliberate clearing plan can be more valuable than simply pushing every new snowfall to the same corner.
Clear leaves and debris from drainage areas
Fall leaves often gather along curbs, driveway edges, downspout outlets, and low spots. Once snow and ice cover them, those piles are harder to see and remove. Clear accumulated debris while it is accessible.
Look for water that already pools after rain. Freeze-thaw weather can turn recurring puddles into slippery patches on a driveway or walkway. Clearing leaves will not solve an underlying grading or drainage problem, but it can help keep existing water paths open. For extensive fall debris, Greenlawn Maintenance also has information on property cleanup services.
Protect the walking route, not just the parking space
Think through a normal winter morning. You may need to walk from the house to the garage, reach a vehicle, take garbage bins to the curb, or receive a delivery. A cleared driveway does not automatically make those routes safe.
Identify the steps and paths that need regular attention, especially areas shaded by buildings or trees. These places may stay icy after sunnier areas have improved. Keep handrails and steps free of stored items, and make sure outdoor lighting works before daylight hours become shorter.
If traction treatment is needed, choose products appropriate for your paving material, pets, and nearby plants. Follow the label and use only as directed. Sand or other traction materials can help in some conditions, but no product removes the need to watch for refreezing.

Decide what equipment or help you will use
Before snow starts falling, inspect the tools you already own. Check shovel handles, the condition of a snowblower, and any manufacturer’s recommended maintenance steps. Keep fuel and equipment stored and handled according to safety instructions. Never run gasoline-powered equipment in a garage or other enclosed area, even with the door open.
Match the method to the job. A short walkway might be practical to clear with a shovel, while a larger driveway or frequent snowfalls may call for equipment or assistance. Take breaks when shoveling, avoid overexertion, and use particular caution if you have health concerns that make heavy exertion risky.
If you plan to hire help, review the company’s service information before the season becomes busy. Greenlawn Maintenance describes its snow removal services on its website. Ask about the specific areas you need cleared rather than assuming every walkway, step, or driveway feature is included.
Understand what happens after the plow passes
Snow removal and ice control are related, but they are not identical. Plowing can clear accumulated snow while leaving a thin packed layer behind, particularly if vehicles have driven over snowfall before it is removed. Temperatures may then rise and fall, leaving icy spots even after the driveway looks fairly clean.
Monitor the forecast and inspect the surface after clearing. Consider where roof runoff and snowmelt cross paved routes. Do not push snow into a public road or block public sidewalks; follow the rules in your community for snow placement.
On days with drifting snow, clearing once may not prevent new accumulation. A property with open exposure can face different conditions from one sheltered by buildings or trees, so the timing and frequency of work can change from storm to storm.
A quick pre-storm walkthrough
Before the next forecasted snowfall, take ten minutes to check:
- Surfaces: Driveway, steps, and paths are free of movable obstacles.
- Edges: Important boundaries and hidden features are marked.
- Snow storage: There is room for snow without blocking access or drainage.
- Drainage: Downspout outlets and low spots are clear of debris.
- Equipment: Tools are accessible and ready for safe use.
- Access: Mailboxes, bins, walkways, and doors have a winter plan.
If you manage a property across seasons, the company’s seasonal property care page offers a broader view of maintaining outdoor areas as conditions change.
Make the first snowfall easier on yourself
Winter preparation works best when the driveway is still bare and the lawn edges are visible. A clear route, a few well-placed markers, and a practical storage plan can make subsequent snowfalls less disruptive. Revisit the plan after the first significant storm to see where snow drifts, where ice forms, and what needs adjustment.
For questions about winter service for your property, contact Greenlawn Maintenance. Explain the surfaces and access points that matter most so you can discuss the appropriate next steps.